![[Part 1] How to set up your own Ghost + Gatsby blog (with Digital Ocean and Netlify)](https://ghost.woodies11.dev/content/images/2020/03/Screen-Shot-2020-03-08-at-16.25.58.png)
[Part 1] How to set up your own Ghost + Gatsby blog (with Digital Ocean and Netlify)
"How to set up your own fully automated static blog using Ghost and Gatsby with the JAMstack!"
Ghost on Digital Ocean Droplet (JAMstack)
For now, I am hosting the site on the smallest, and cheapest, Digital Ocean droplet.
First, you will want to create a Digital Ocean account (disclosure: referral link).
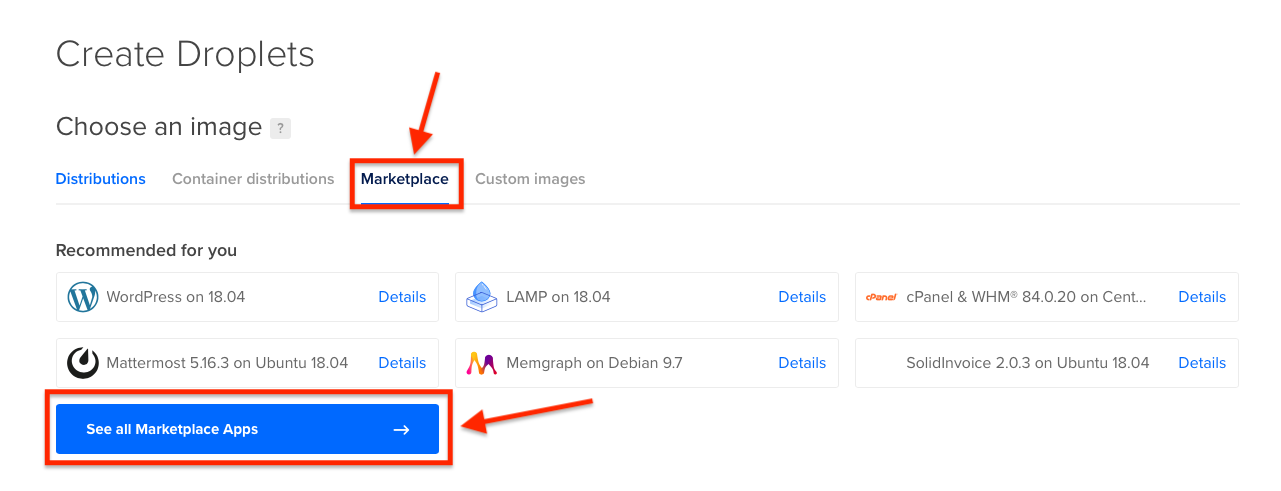
Then, select Create > Droplets.

We will be using a template already provided by Digital Ocean, so click on Marketplace then See all Marketplace Apps to search all apps.
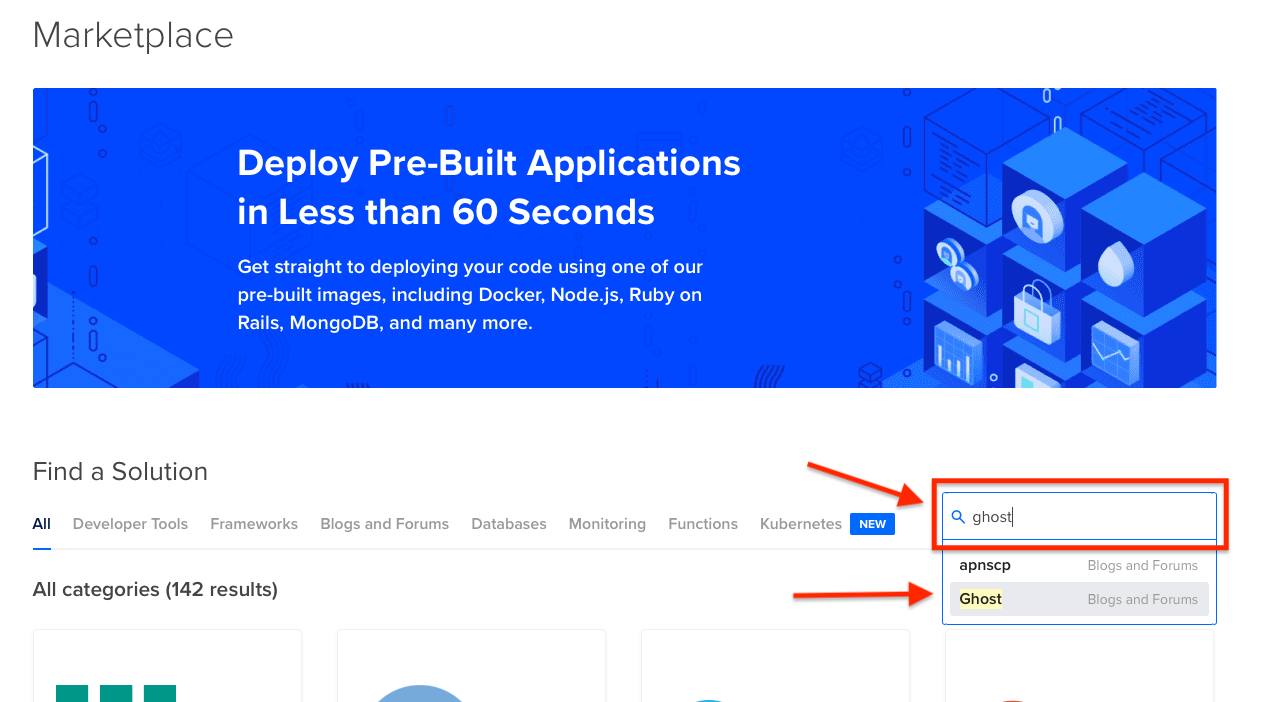
Search and select Ghost.
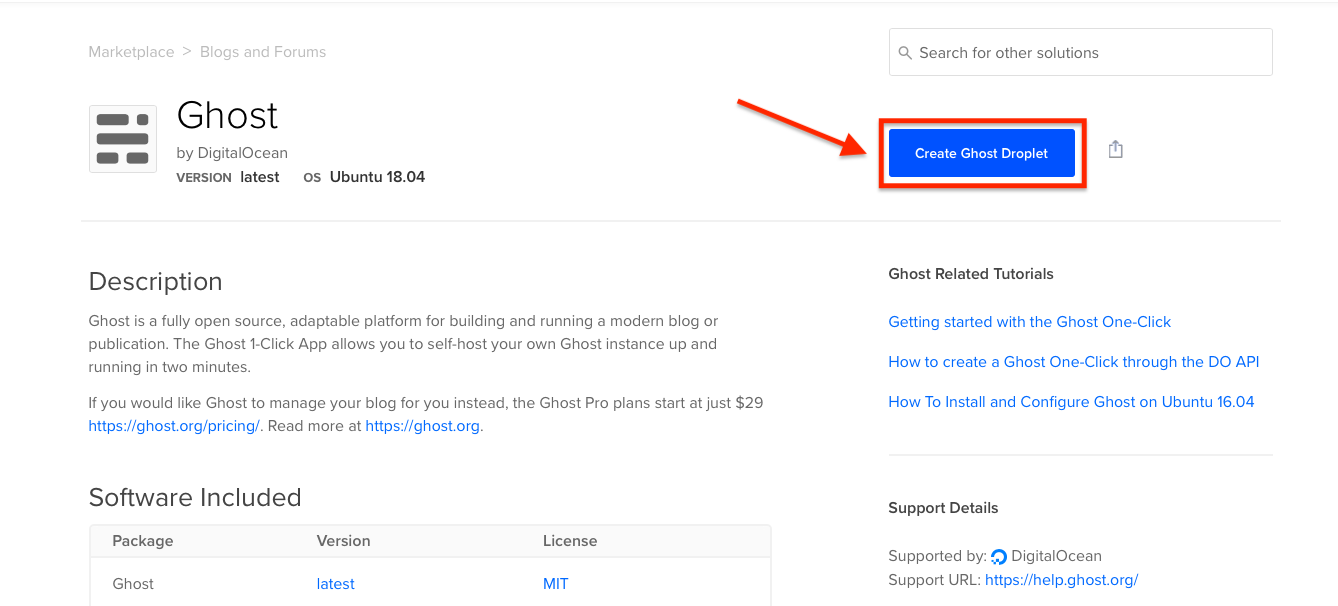
Click on Create Ghost Droplet.
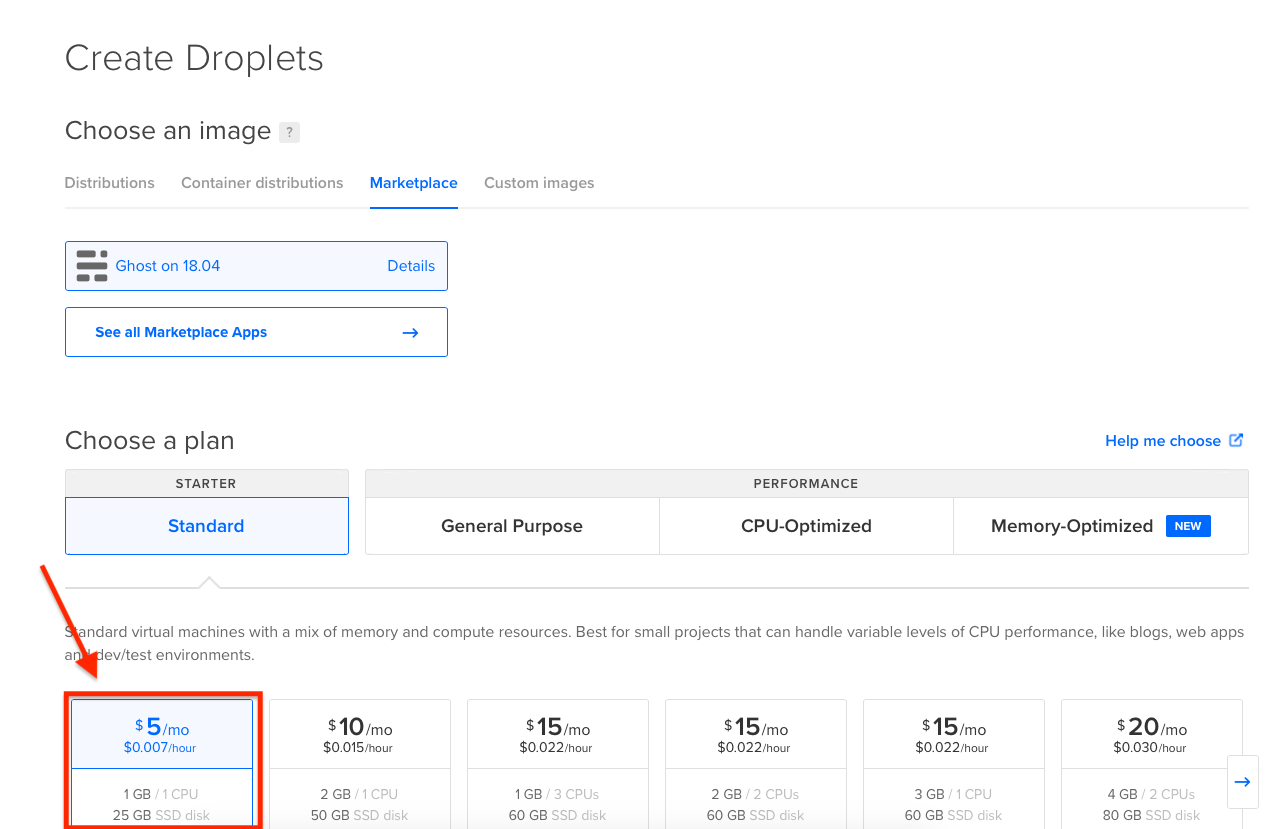
Choose the configuration you want. Since we will be using a static site generator to generate and host the site elsewhere, the cheapest plan should work.
This is the beauty of this setup! The CMS, and thus the droplet, is only access during rebuild while another hosting server or a CDN take care of actual user load. Therefore, the CMS server can be really small!
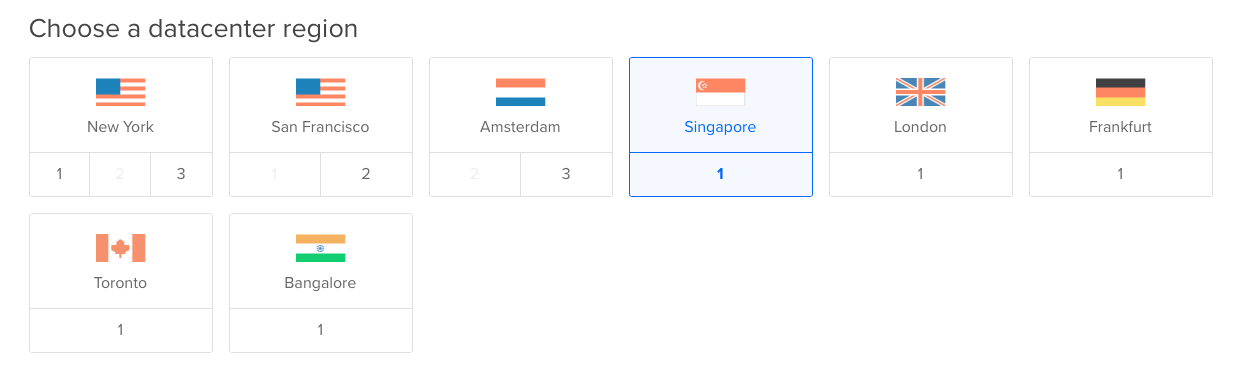
Pick your datacenter location. Again, since our web hosting will take care of the actual task of serving the site, this doesn't matter much. I live in Thailand so I picked Singapore. (Though, I should have picked one closer to where my CI/CD build pipeline will take place...).
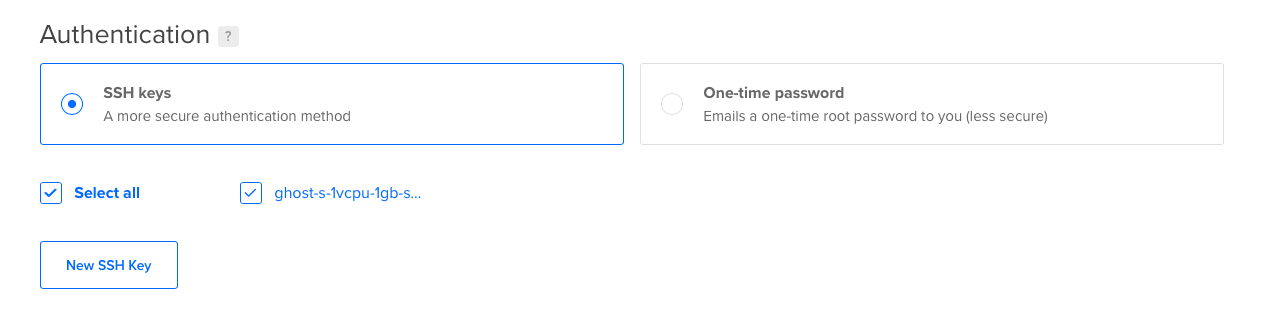
Pick your authentication method. I recommend using SSH keys if possible. If you have never add an SSH key to your Digital Ocean account, click on New SSH Key and follow the instruction to add one.
Finally, click Create Droplet and wait a bit while Digital Ocean is setting up your droplet for the first time.
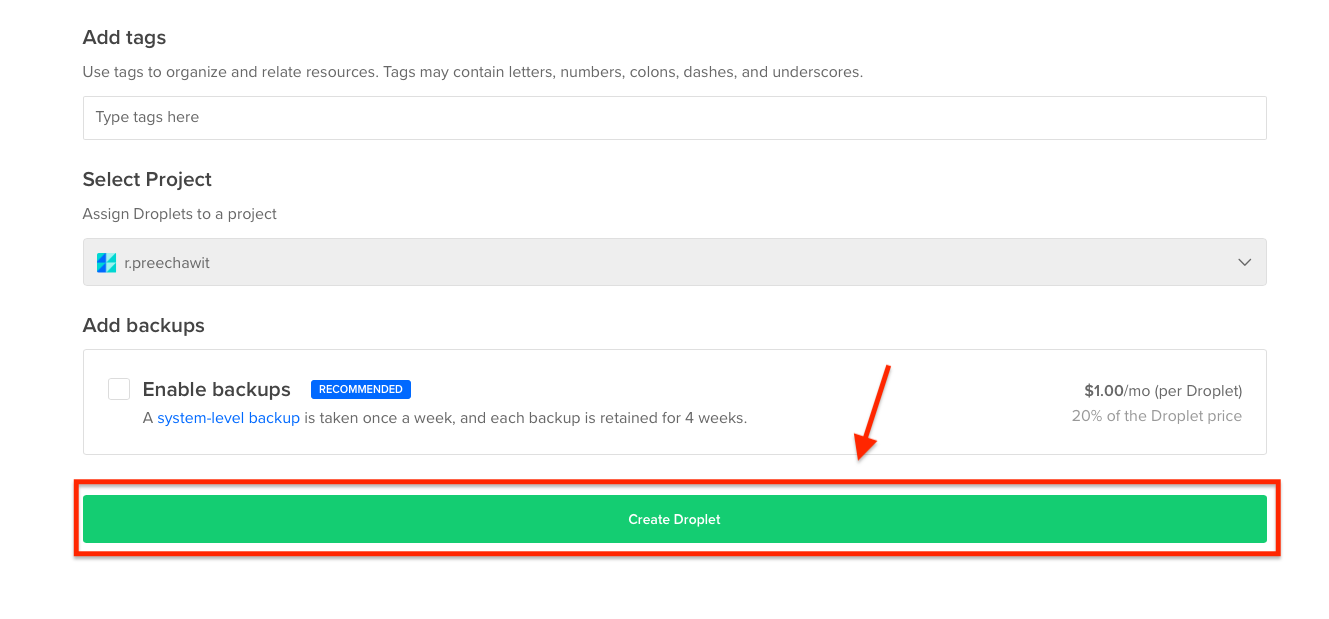
Once your droplet is ready, you will get a Public IP Address that you can use to SSH into the droplet.

Configuring Ghost for the First Time
You will need to SSH into your droplet once to finish installation.
On Windows, you can use PuTTY to establish an ssh connection.
On a UNIX system (macOS, Linux), ssh should come standard with your shell.
SSH using password
If you selected One-time password as your authentication method previously, you can use:
ssh root@123.123.123.123Where 123.123.123.123 is replaced with your Public IP Address.
If prompt to trust the certificate, type yes and hit enter.
It will then ask for password sent to your email. Enter that in.
SSH using SSH Key
If you selected SSH Keys as your authentication method, use the following command instead:
ssh -i /path/to/my/key root@123.123.123.123Where /path/to/my/key is the path to your private key associated with the public key you configured for this droplet.
Auto Installation
Once connected, the shell should automatically finish the installation for you.
You will be asked to supply a domain name. Do so if you already have one, otherwise, enter http://<YOUR DROPLET PUBLIC IP>.
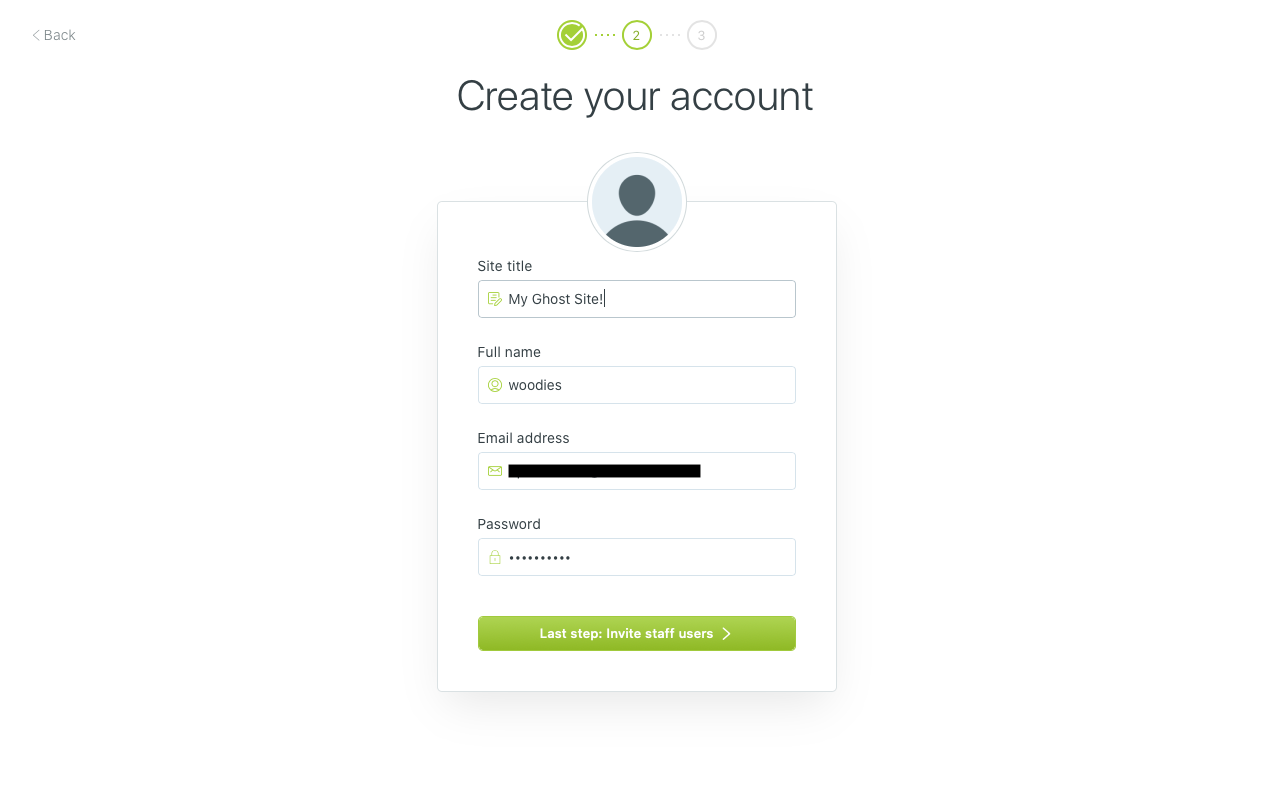
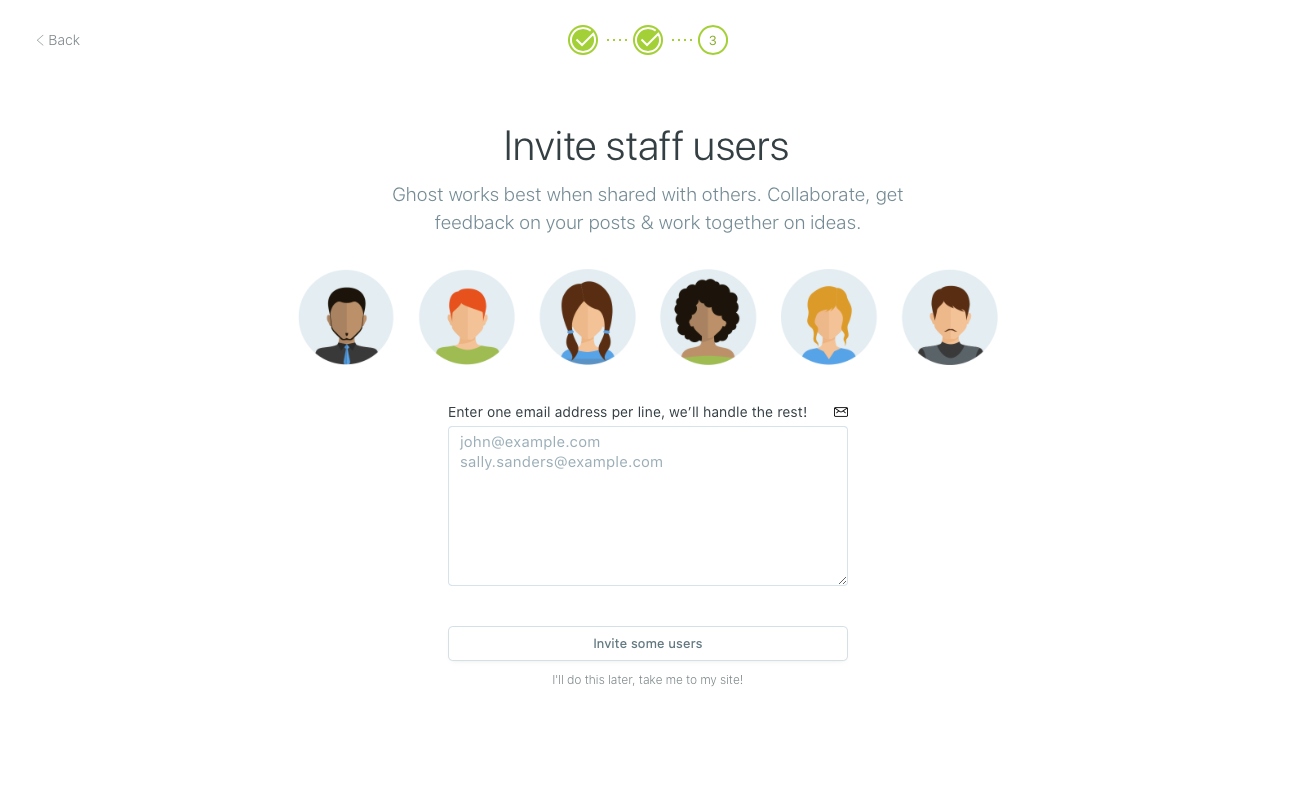
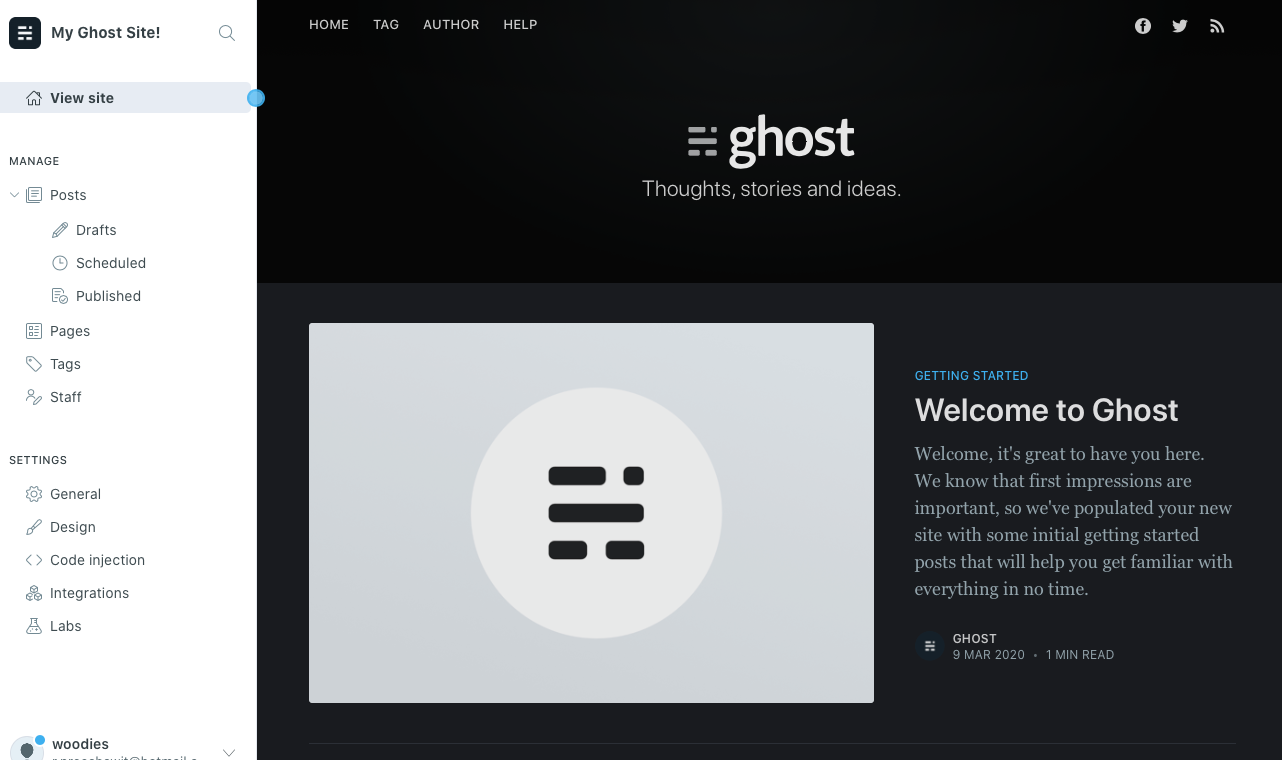
Once that is complete, visit http://<YOUR DROPLET PUBLIC IP>/ghost, or https://<YOUR DOMAIN NAME>/ghost if you have a domain, to set up Admin for Ghost for the first time.
Updating Ghost's base URL after the fact...
For those who are impatience (like me) and could not wait until you get your domain name set up and A name to propagete, you can update Ghost's URL after the first installation by following this guide.
Note that, the default installation for Ghost in Digital Ocean's droplet is at /var/www/ghost. You will also need to switch to ghost-mgr user using sudo -i -u ghost-mgr.
Set up Gatsby
To be continue in Part 2...
