![[Part 2] How to set up your own Ghost + Gatsby blog (with Digital Ocean and Netlify)](https://ghost.woodies11.dev/content/images/2020/03/Screen-Shot-2020-03-09-at-23.37.21-1.png)
[Part 2] How to set up your own Ghost + Gatsby blog (with Digital Ocean and Netlify)
"In this part, we will be looking at how to connect Gatsby to our Ghost CMS."
In this part, we will be looking at how to connect Gatsby to our Ghost CMS.
If you haven't completed Part 1 yet, we look at how to host our own Ghost CMS in a Digital Ocean droplet there.
Ghost's Gatsby Starter Project
Ghost provides a convenient starter Gatsby project for us to used. You can visit the official GitHub page or clone the repo using this command:
git clone https://github.com/TryGhost/gatsby-starter-ghost.gitWe will need to do a few configuration here to get our Gatsby connected to our Ghost in Digital Ocean.
Add .ghost.json to .gitignore
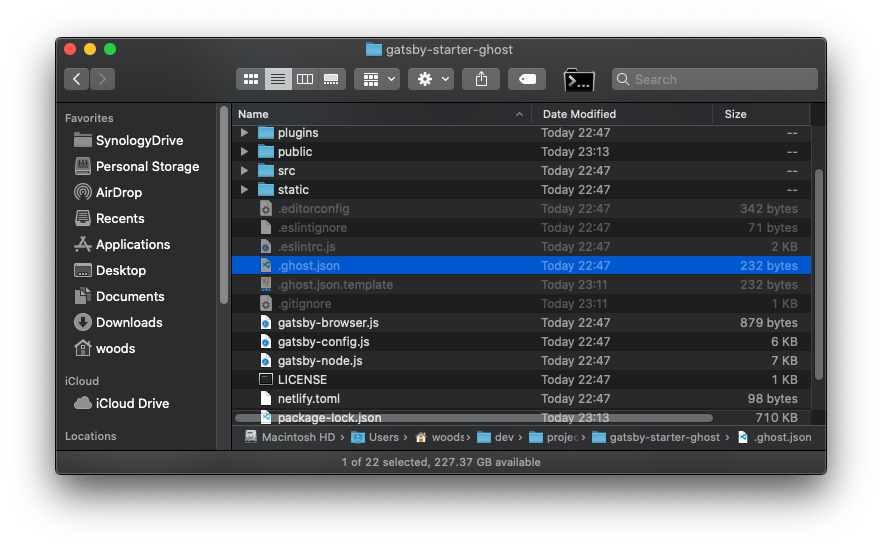
First, we will add .ghost.json file to .gitignore so git will ignore this file from commits (make sure hidden files are visible). The file will be where we store our API keys, and it is generally a bad practice to commit these keys to a repo. Instead, we will use ENVIRONMENTAL VARIABLES to store our keys.
You can either open .gitignore file in a text editor and add the entry that way or run this command:
echo "\n.ghost.json" >> .gitignoreOptionally, you can create a copy of the file to keep as template: (copy for Windows)
cp .ghost.json .ghost.json.templateThe default configuration that come with the starter project is pointing to a Ghost instance created specifically for starter projects. Thus, you can leave it as is for reference. Otherwise, I would remove the values and only leave keys for the template.
Leave the original .ghost.json as is if you want to test or develop Gatsby locally before hosting it on Netlify.
Node JS
If you want to run Gatsby on your local machine, either to test or develop locally, make sure you have Node JS and npm or yarn installed first.
Install dependencies
Make sure you are in the project's root directory. Then run:
npm installOnce that is done, run:
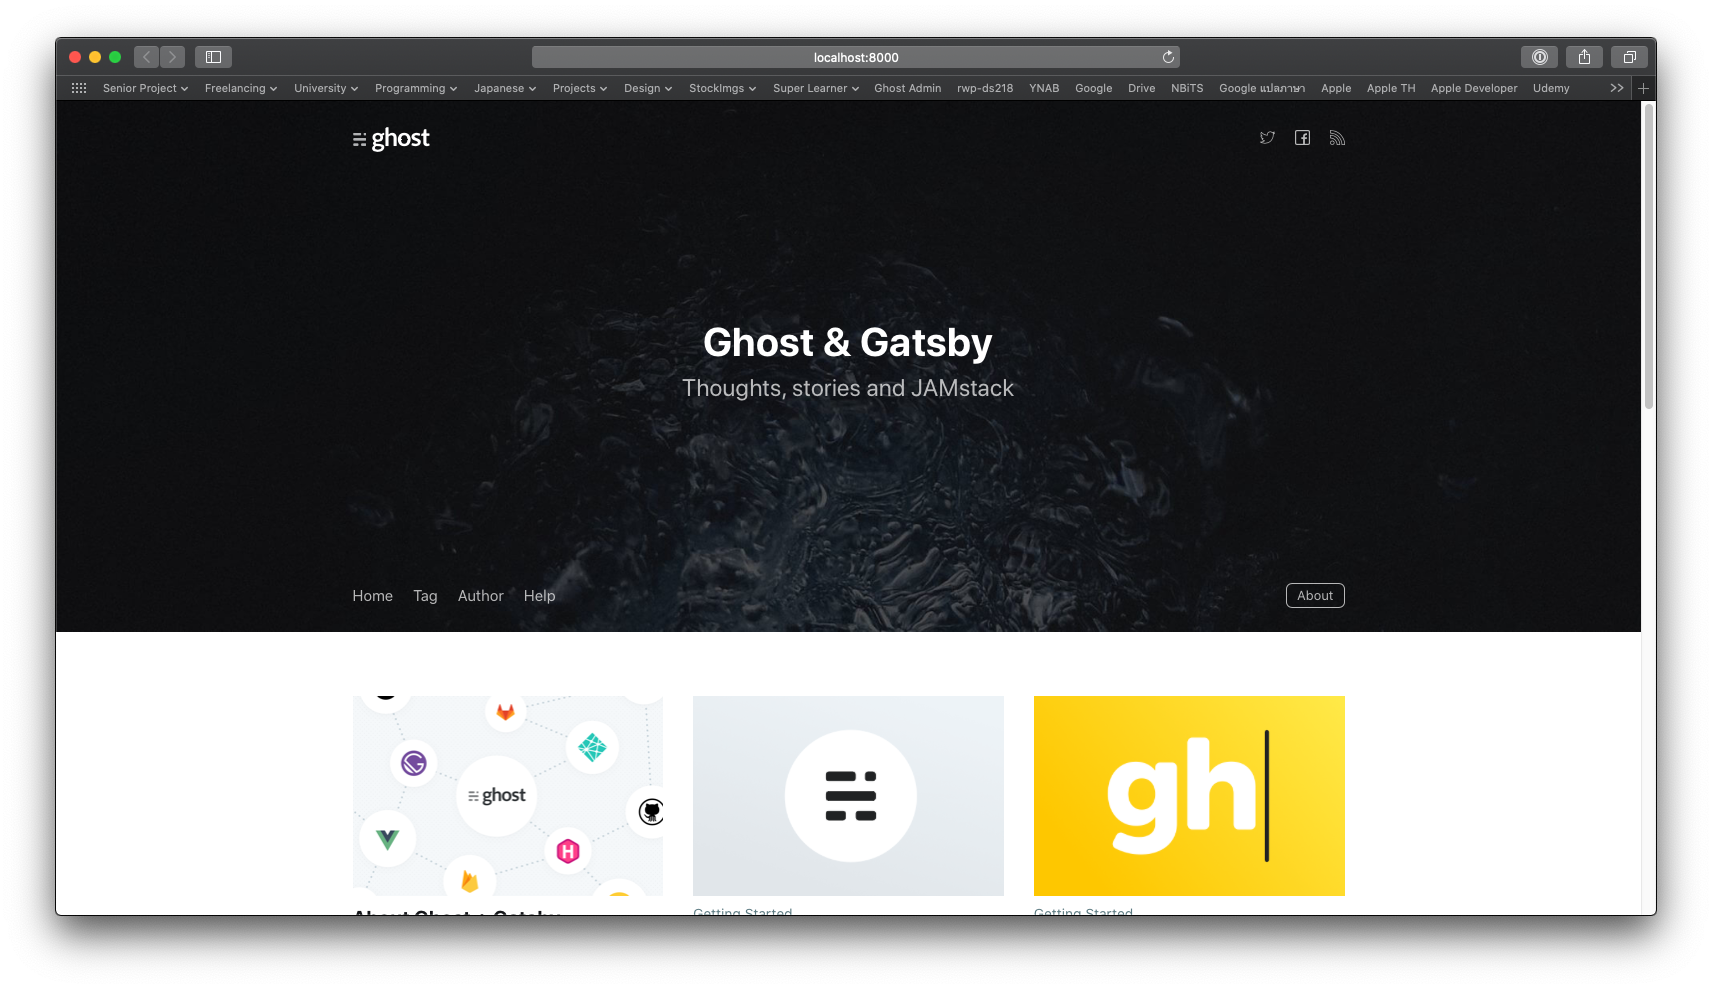
npm run devThis will pull content from gatsby.ghost.io which is an instance of Ghost hosted for the purpose of this demo project.
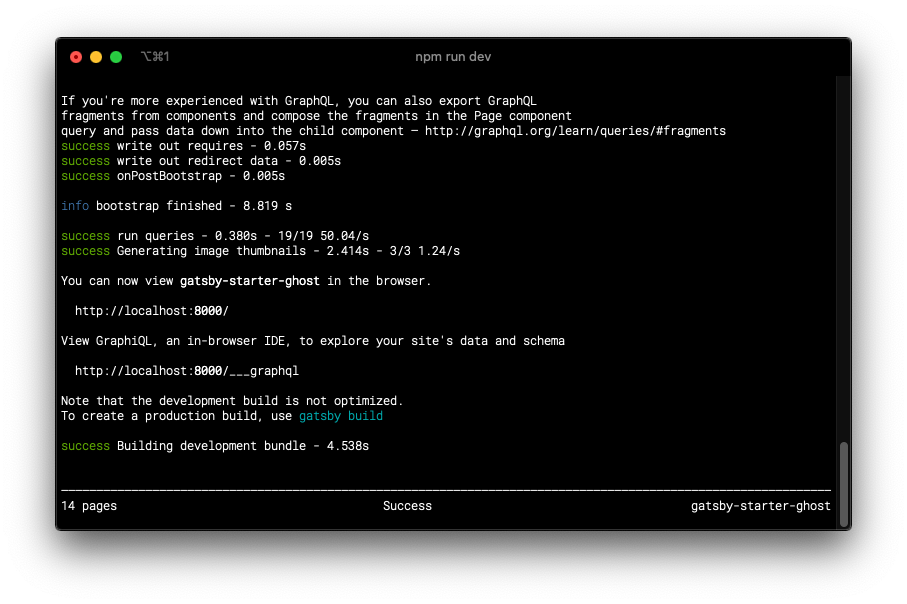
Once completed, you can go to http://localhost:8000 to see your Gatsby project.
Now, let's configure this to pull from the Ghost instance that you set up in Part 1.
First, login to the Ghost admin page of your Ghost instance.
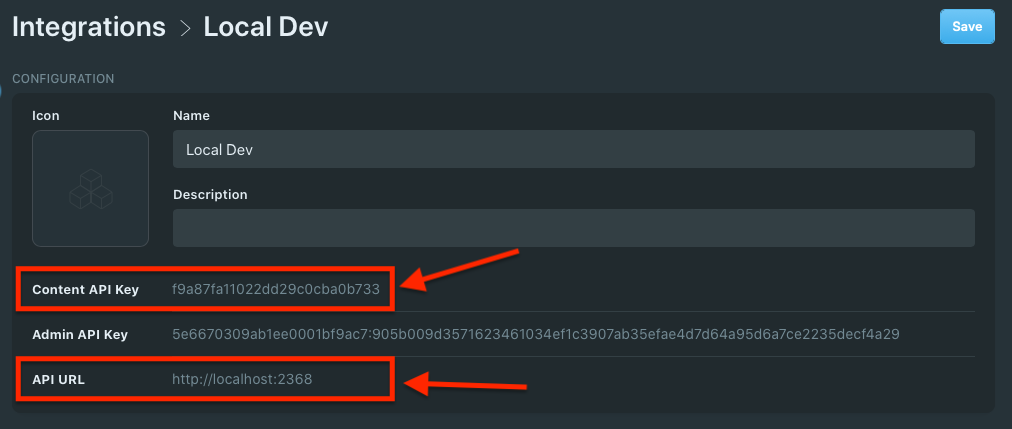
Then, click on Integrations > + Add custom integration
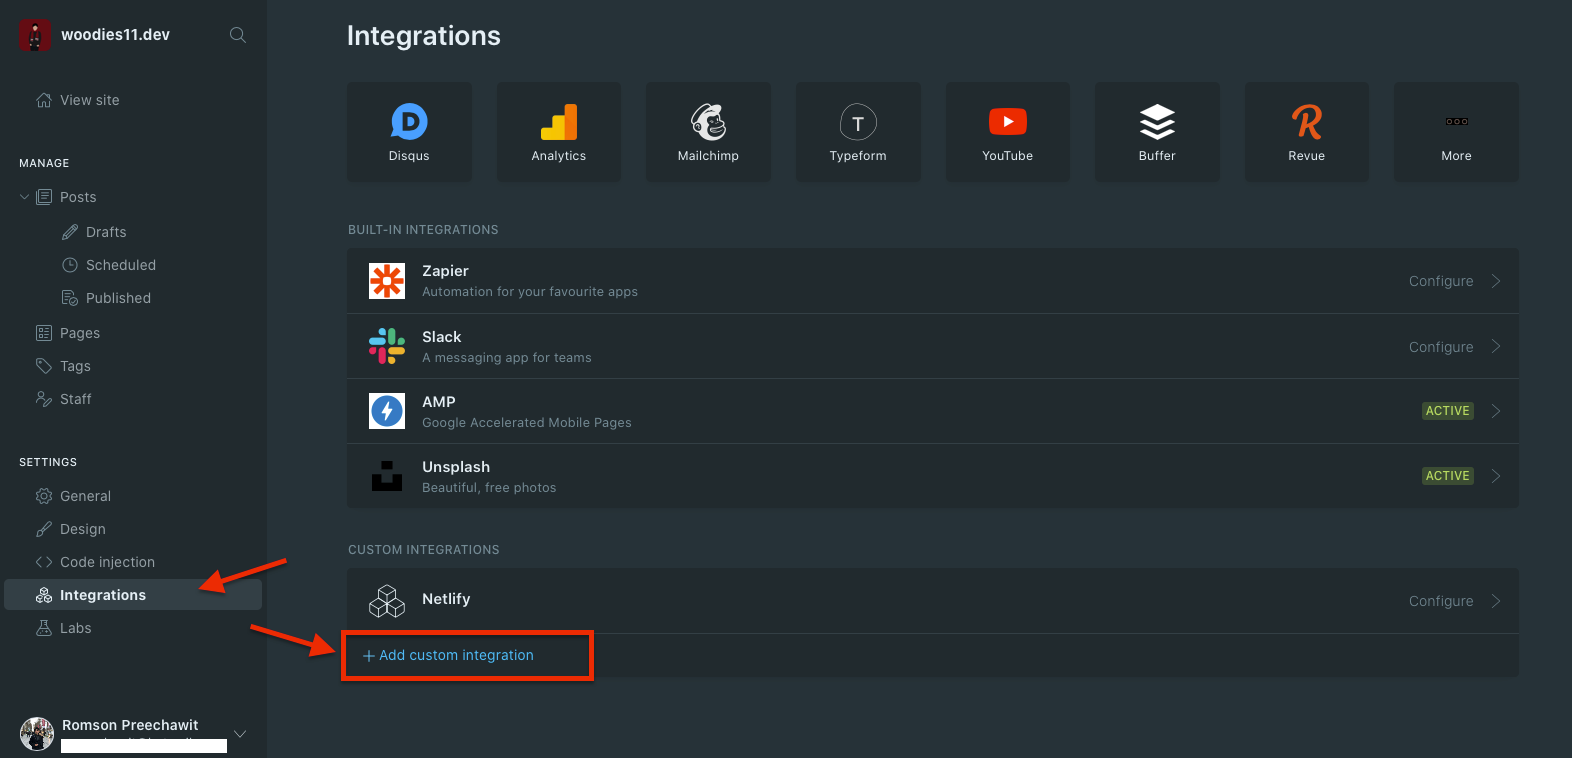
Name it however you like. I will use Local Dev here because I will only use this key for local development.
Take note of your Content API Key and API URL.
In your project folder, open up the .ghost.json file (again, make sure hidden files are shown or use command line to open it).
You should see something like:
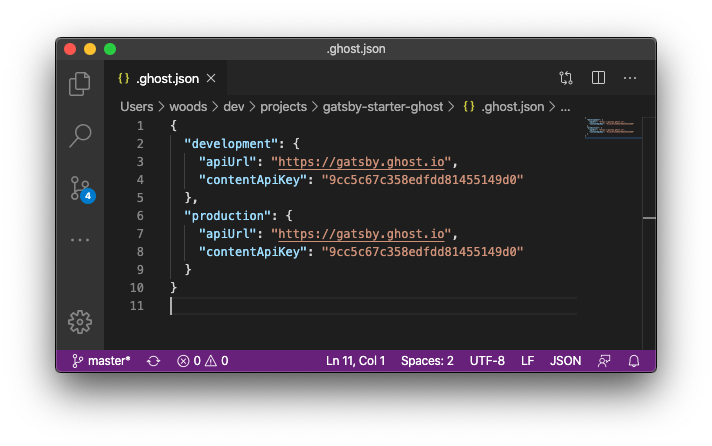
As you can guess, you want to replace both apiUrl and contentApiKey with the values you get from your Ghost's admin page.
Do that then save the file.
Finally, run the command below again to see the final result.
npm run devIt should now pull from your own Ghost instance.
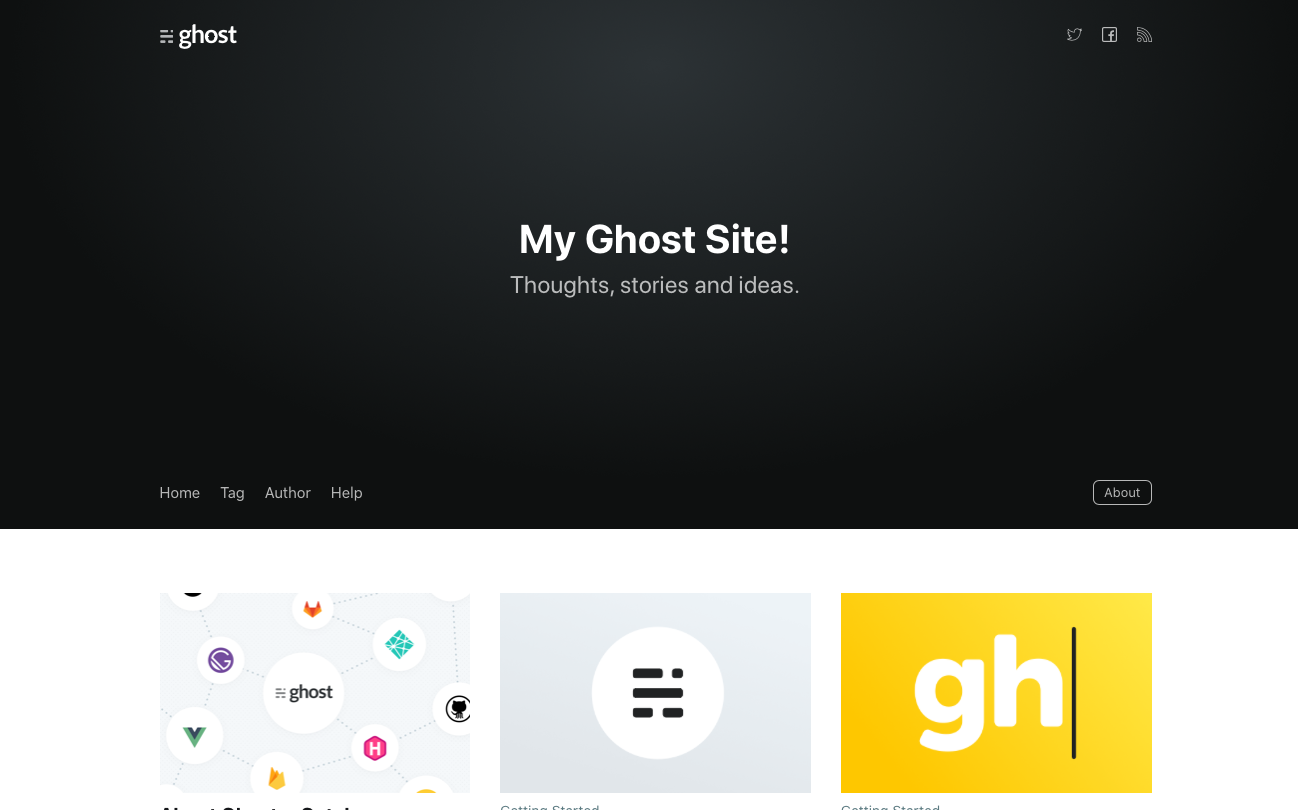
Congratulation! You have successfully integrated Gatsby with Ghost!
Next, hosting...
In Part 3, we will look at how we could host this site on Netlify and create a webhook to tell Netlify CI/CD to rebuild our site each time content is updated on Ghost.
